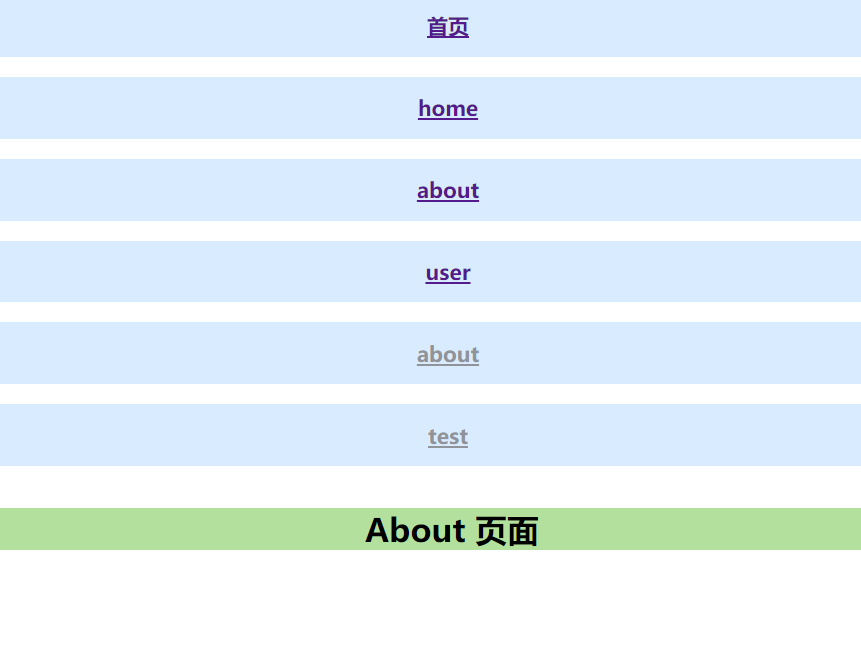
src/router/index.js
import {createRouter, createWebHashHistory} from 'vue-router'

import Index from "@/views/Index";
import Home from "@/views/Home";
import About from "@/views/About";
import User from "@/views/User";

// 1. 定义路由组件.也可以从其他文件导入
//const Test = {template: '<div>Test</div>'}
//const Test2 = {template: '<div>Test2</div>'}

// 2. 定义一些路由,每个路由都需要映射到一个组件。
const routes = [
    //{path: '/test', component: Test},
    //{path: '/test2', component: Test2},

    {path: '/', component: Index},
    {path: '/home', component: Home},
    {path: '/about', component: About},
    {path: '/user', component: User},
]

// 3. 创建路由实例并传递 `routes` 配置
// 你可以在这里输入更多的配置,但我们在这里
export const Router = createRouter({
    // 4. 内部提供了 history 模式的实现。为了简单起见,我们在这里使用 hash 模式。
    history: createWebHashHistory(),
    routes, // `routes: routes` 的缩写
})
src/main.js
import {createApp} from 'vue'
import App from './App.vue'
import {Router} from './router'
import ElementPlus from 'element-plus'
import 'element-plus/dist/index.css'

const app = createApp(App)

app.use(Router)
app.use(ElementPlus)
app.mount('#app')
src/app.vue
<template>
  <el-row>
    <el-col :span="24">
      <div class="grid-content bg-purple">
        <el-link type="info">
          <router-link to="/"><h2>首页</h2></router-link>
        </el-link>
      </div>
    </el-col>
  </el-row>
  <el-row>
    <el-col :span="24">
      <div class="grid-content bg-purple">
        <el-link type="info">
          <router-link to="/home"><h2>home</h2></router-link>
        </el-link>
      </div>
    </el-col>
  </el-row>
  <el-row>
    <el-col :span="24">
      <div class="grid-content bg-purple">
        <el-link type="info">
          <router-link to="/about"><h2>about</h2></router-link>
        </el-link>
      </div>
    </el-col>
  </el-row>
  <el-row>
    <el-col :span="24">
      <div class="grid-content bg-purple">
        <el-link type="info">
          <router-link to="/user"><h2>user</h2></router-link>
        </el-link>
      </div>
    </el-col>
  </el-row>
  <el-row>
    <el-col :span="24">
      <div class="grid-content bg-purple">
        <router-link to="/about">
          <el-link type="info"><h2>about</h2></el-link>
        </router-link>
      </div>
    </el-col>
  </el-row>
  <el-row>
    <el-col :span="24">
      <div class="grid-content bg-purple">
        <router-link to="/test">
          <el-link type="info"><h2>test</h2></el-link>
        </router-link>
      </div>
    </el-col>
  </el-row>

  <!-- 路由出口 -->
  <!-- 路由匹配到的组件将渲染在这里 -->
  <router-view></router-view>
</template>

<script>
import Index from './views/Index.vue'

export default {
  name: 'App',
  components: {
    // eslint-disable-next-line vue/no-unused-components
    Index
  },
  setup() {
  }
}
</script>

<style scoped>
.el-link {
  margin-right: 8px;
}

.el-link .el-icon--right.el-icon {
  vertical-align: text-bottom;
}

.bg-purple {
  background-color: #d9ecff;
  text-align: center;
}

.el-row {
  margin-bottom: 20px;
}

.el-row:last-child {
  margin-bottom: 0;
}

.el-col {
  border-radius: 4px;
}

.grid-content {
  border-radius: 4px;
  min-height: 36px;
}
</style>
src/views/about.vue
<template>
  <el-row>
    <el-col :span="24">
      <div class="grid-content bg-purple">
        <h1>About 页面</h1>
      </div>
    </el-col>
  </el-row>
</template>

<script>
export default {
  // eslint-disable-next-line vue/multi-word-component-names
  name: "About"
}
</script>


